

I should preface this by saying, this is probably a LOT easier if you bake at all, ever. I don’t, which will become very obvious to you as this tutorial moves forward. Even so, I found this cake reasonably easy to make, even with a few hiccups along the way. The end result was cute and was received well, if less than perfectly executed. So let’s get started!
 I actually baked this cake for my fiance’s birthday, but it occurred to me as I was starting it that it could be an easy and affordable option for a groom’s cake, bachelor party, etc, for a particularly nerdy groom. Since it occurred to me during the process, I don’t have pictures of the early stages, but I’m sure you’ll get the gist. I first discovered this recipe on Nerdy Nummies and used the original recipe from Betty Crocker to supplement. You should definitely check out either of those recipes if you’re left dazed and confused by my baking misadventures.
What you’ll need:
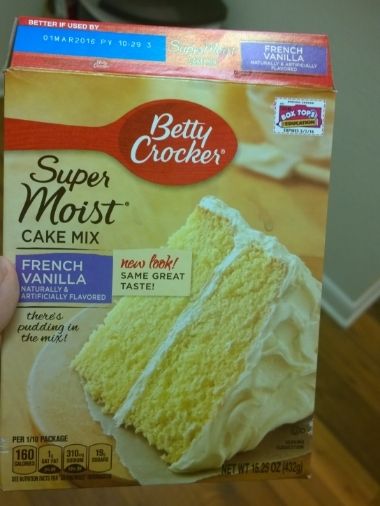
- Yellow cake mix (or homemade if you’re a better chef than I am)
- Cake mix ingredients (aka water, vegetable oil, eggs)
- White-ish frosting. I used cream cheese flavor but any light color frosting would work. You’ll need TWO CONTAINERS of frosting. (I only got one…hence my modifications to follow)
- Food coloring (in good Lego colors – I used blue, red and yellow)
- Regular sized marshmallows
 And that’s it! Bake the cake according to mix directions. Then let it cool down all the way. I let mine cool for an hour on the counter, then 2+ hours in the freezer, covered in cling wrap. My cake got stuck in the pan which made my cool-down process weird and long (did I mention I am not a pastry chef?).
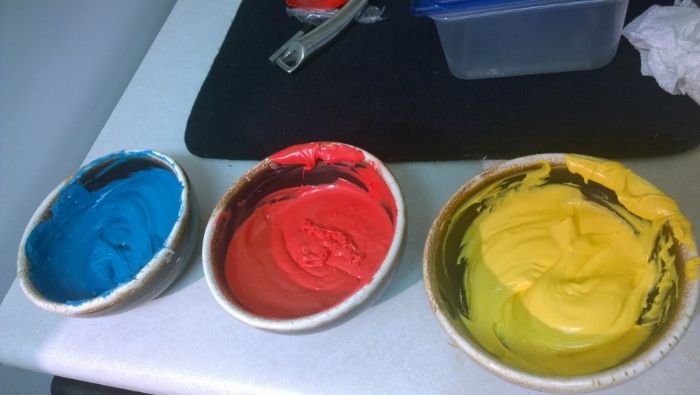
As your cake is cooling, prep your frosting. Again, you should get two, not one like me. I divided my frosting into three small bowls, using food coloring to make 1/2 of my frosting blue, 1/4 red and 1/4 yellow.

Sorry, unfrosted cake piece! 🙁
I wanted the colors to be very vibrant, like real Legos, which required a lot of food coloring. You’ll definitely need to keep that in mind if you increase the recipe at all.
Once the cake is cooled and out of the pan, either use a serrated knife or a leveler to level the top and make it nice and even. Then you’ll want to cut the cake into thirds, additionally cutting one of the thirds in half, so you’re left with two rectangle pieces and two square pieces of cake.
Since I was short on frosting, I basically ignored 1/3 of the cake and only worked with a single rectangle and the two square pieces. I will say that I had plenty of frosting for 2/3 of the cake, with enough left over to mix onto the remaining 1/3 – so you might be able to pull it off with only one container. I probably wouldn’t attempt it, though. This recipe definitely turns out better if you have plenty of frosting to work with.
 Time for frosting! Which leads me to an important point: the crumb coat.
If you bake at all, you probably already know about a crumb coat, but let me tell you, it’s super important. Since you cut the cake on basically every side, you’ll want to do a preliminary layer of frosting to seal in the crumbs, then pop the cake into the fridge for about 15 minutes and do a final coat of frosting. I sort of skimped on the first crumb coat and ended up making more work for myself – I don’t need to keep reminding you that I’m not a chef, right?
While your crumb coat is setting (or earlier, if you want), prep your marshmallows to use as the Lego pegs. You’ll want to cut them in half and the easiest way to do this is by spritzing your knife or kitchen scissors with a little Pam first so the marshmallows don’t stick. For the full cake, you’ll need to cut 12 marshmallows: 8 pegs go on each of the rectangular pieces, and 4 pegs go on the square pieces.
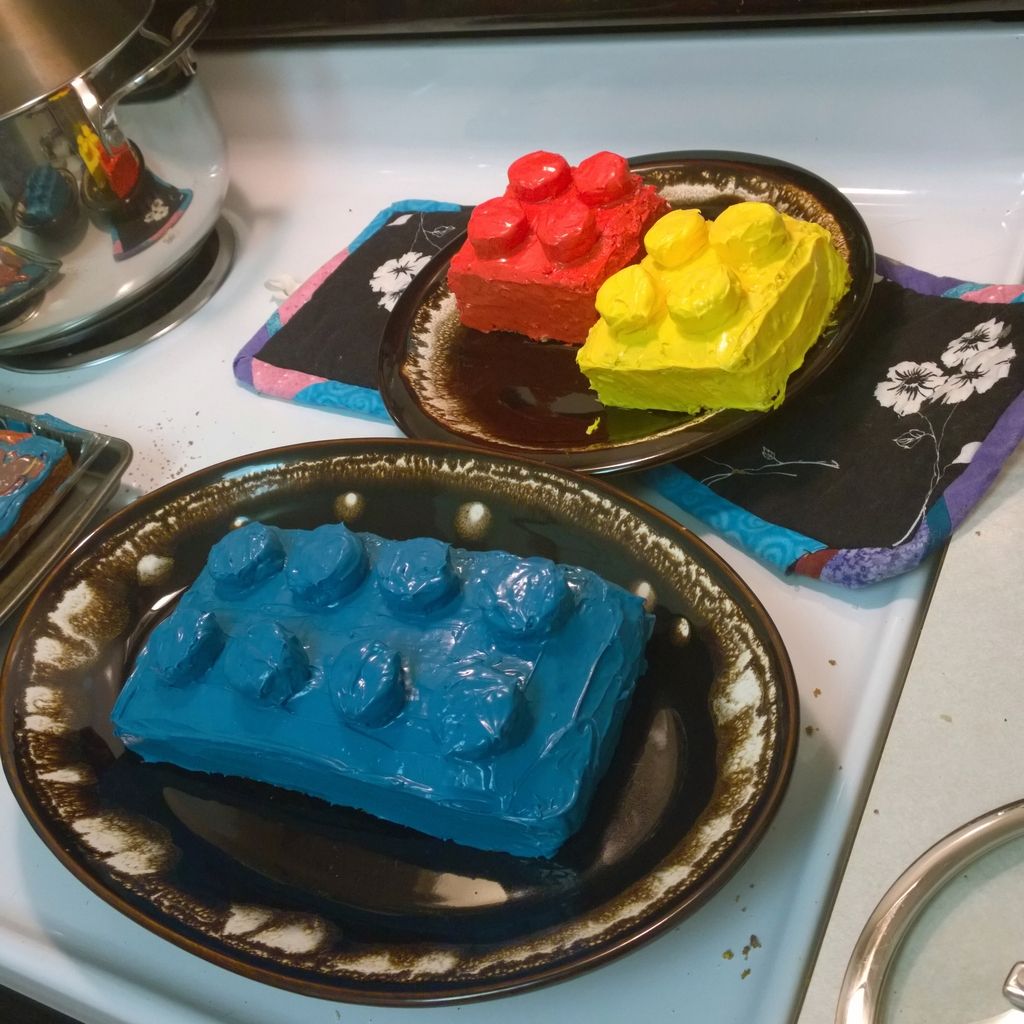 Once your cake is fully frosted in your chosen colors, you’ll need to coat all the marshmallows in their appropriate color, then arrange them onto the cake. Heating up your frosting a little first can make this process a little easier, but not any less messy.
As I already said, my cake was a tad on the rough-looking side. Darn crumb coat. But even so, I think it turned out pretty cute and my fiancé was super excited about it. It would be simple to increase this recipe for the size party you’re having and I think a larger Lego cake would look really neat on display at a party.
Again, check out Nerdy Nummies and/or Betty Crocker for a more visually appealing version of this recipe. And go ahead, give it a try for a nerd in your life!
Leave a Reply