

I’ve done some DIY projects in my day, usually involving glitter, paint and sometimes even glitter paint. This was my very first attempt at making invitations and actually printing them. I recently saw this new printer that was being marketed as particularly awesome for DIY Wedding projects: the Epson Expression Premium XP-830 “Small-in-One” printer. “Crafty love birds can create, print and share for the big day on-the-go.”
A small, ultra-capable printer for DIY wedding projects sounded right up our alley here at Wedding for $1000! I got in touch with them and asked if I could try out the printer. They said yes, and sent one out immediately. There are a lot of unboxing videos on YouTube, so I won’t bore you with the details of what all is in the box. I will, however, exclaim a little about how sleek it looks! I’ve never had anything at home but basic, utilitarian printers – I only ever printed research papers or things on basic cardstock. Now that I’ve tried this sexy little photo printer, it’s going to be hard to justify ever buying another basic printer again!
With that said, I’m going to apologize in advance:
I’m great at talking about things, but I’m not so great at photographing them. I’m still learning the camera I’ve got, and I’m not going to say these are the BEST possible photos I could take. I will say that I tried to capture the detail in each of the shots, and I’ll tell you why I took that particular picture.
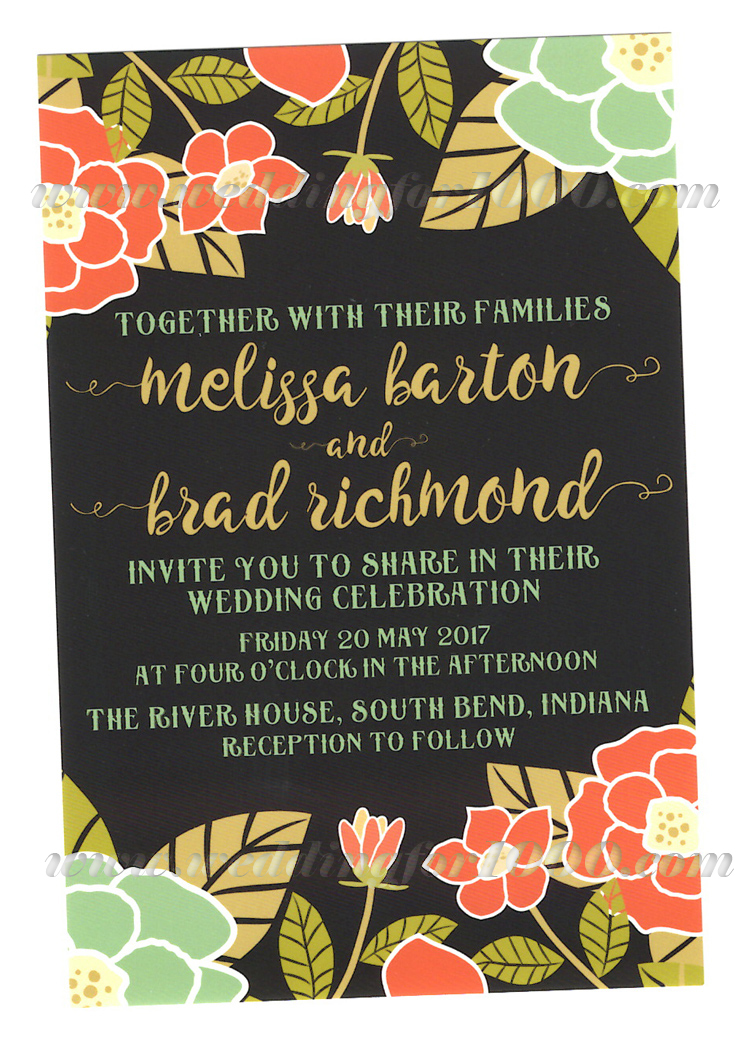
DIY Invitations with the Epson Expression XP-830
There was definitely some operator error when working on this DIY project with the Epson Expression printer. This printer tries to make the printing process stupid-proof in a lot of ways, but just like the saying goes: “Just when you think you’ve made something idiot-proof, the Universe builds a better idiot.”
I was a little confused when it came time to put the specialty photo paper into the paper cassettes. Instead of reading the small manual that came with the printer, or even reading the screen as it so helpfully offered suggestions, I just put the paper in how I thought it should go. Are you rolling your eyes yet? Yeah. This is what happens when you put photo paper into an inkjet printer upside down:
Sexy, right? yeah, it took three days to dry, so don’t be stupid. Follow the directions! Sorry for the grainy quality of the picture – I tried to find a balance between the file size (not trying to kill your phone, here!) and the detail I wanted to show.
Thankfully, my user error didn’t affect the inner workings of the printer. I had nightmare flashes of ‘what if there’s ink all over the inside and everything has streaks forever!’ Nope, they thought of that too.
The next issue I ran into was, once again, not reading the directions for placing the paper correctly in the cassette. The manual (which is literally a Legal size piece of paper folded in half – it’s not rocket science) clearly states that you should “Make sure the paper is loaded against the front edge guide and not sticking out from the end of the cassette.”
Whoops.
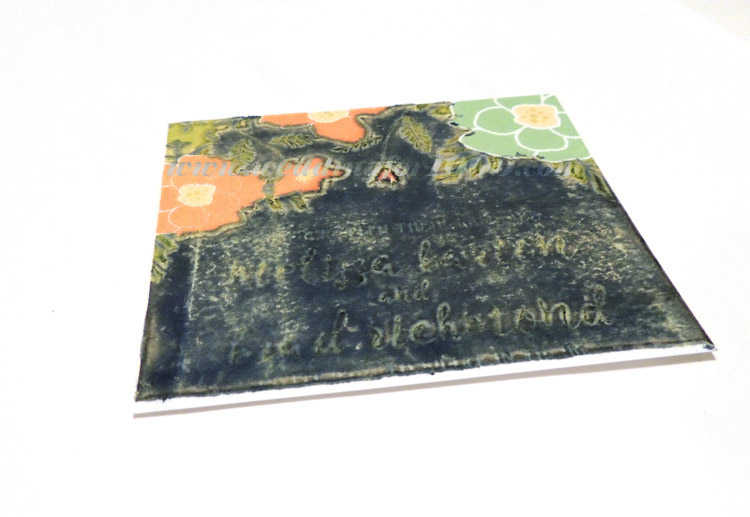
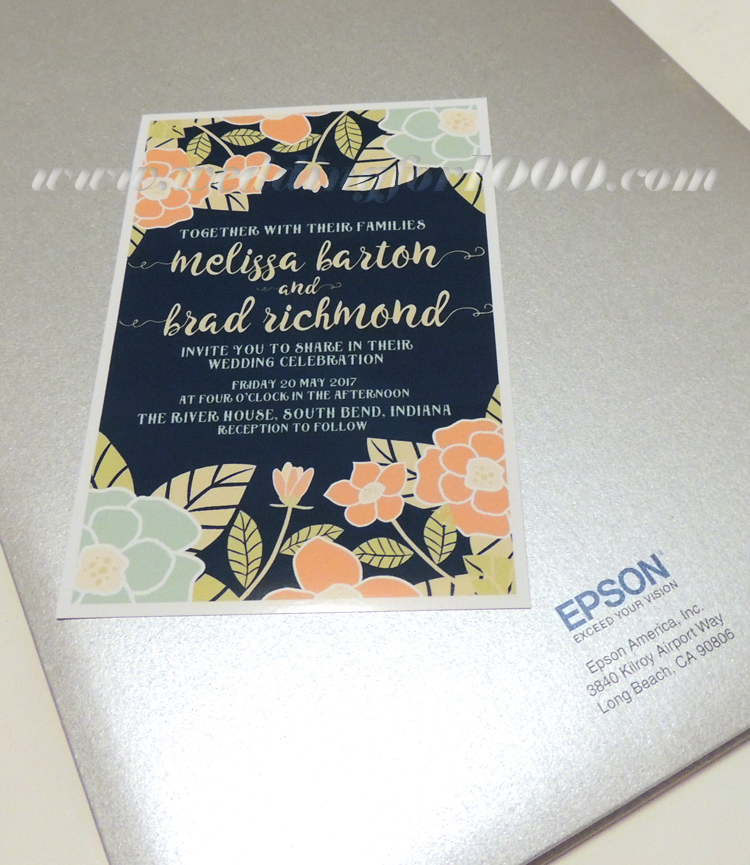
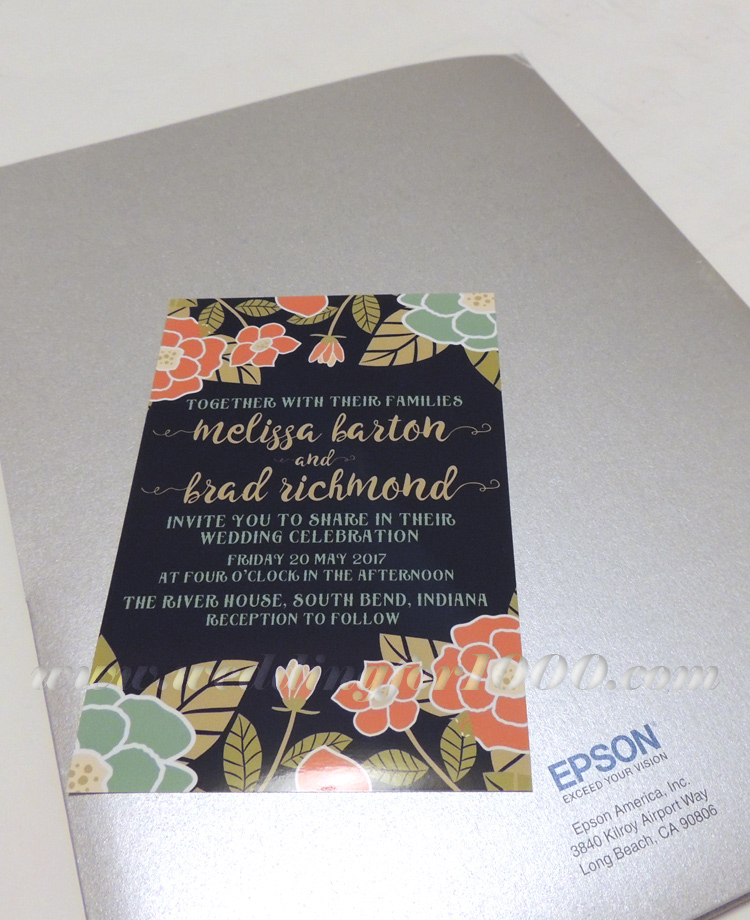
What you can’t see in the above picture is that only half of the paper printed because it fed incorrectly. Here’s a better picture, using a silver folder as a backdrop:

Yeah. Not great, right?
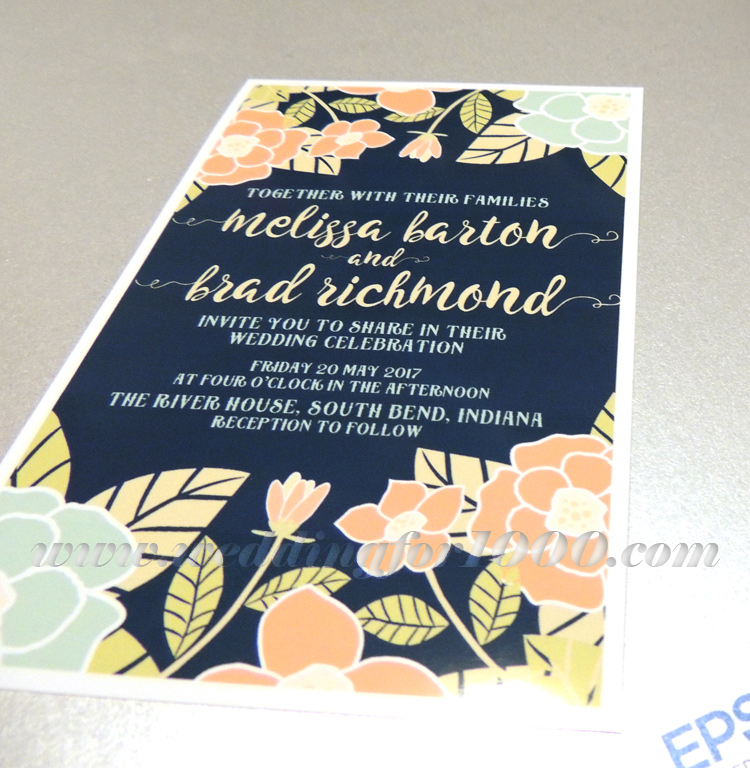
Okay. I finally read the instructions at this time. I got way better results!
But wait. I didn’t want a photo border on my invitation! Hmm.
I used Adobe Illustrator to create this invitation and was printing directly from the artboard. I changed the margins and bleed multiple times and was still getting the same result – a small white border around all four sides of the invitation. By the fourth printing, I’m feeling super confused.
This is my first attempt at DIY invitations, and I very rarely print anything from Illustrator – I am a UX/UI designer in my day job. I mostly work with just illustrator files and then send them to the people who need my designs as JPG or PDF files… oh wait.
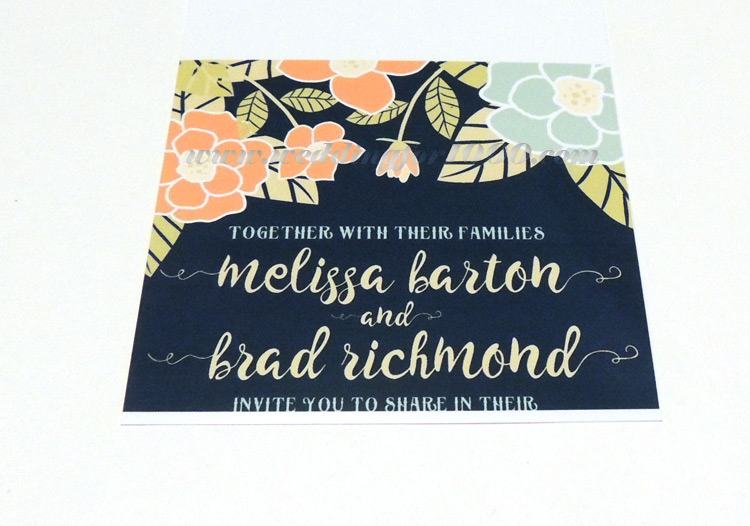
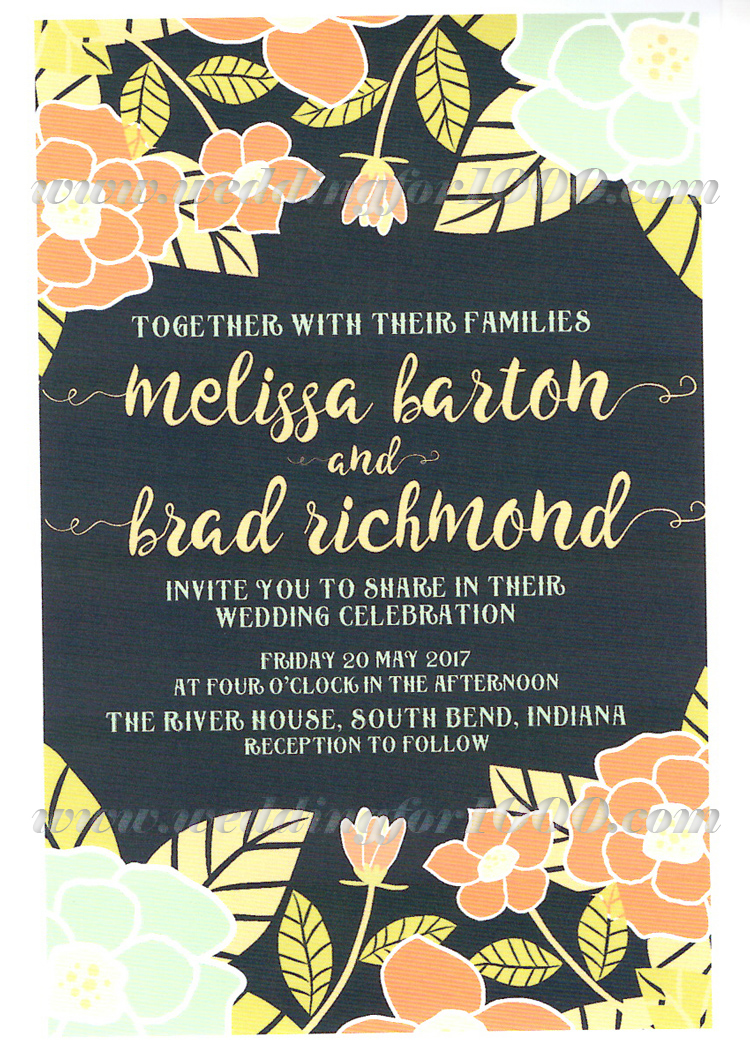
Exporting the file as a .jpg image and then printing it gave me a significantly better result!
Another view:
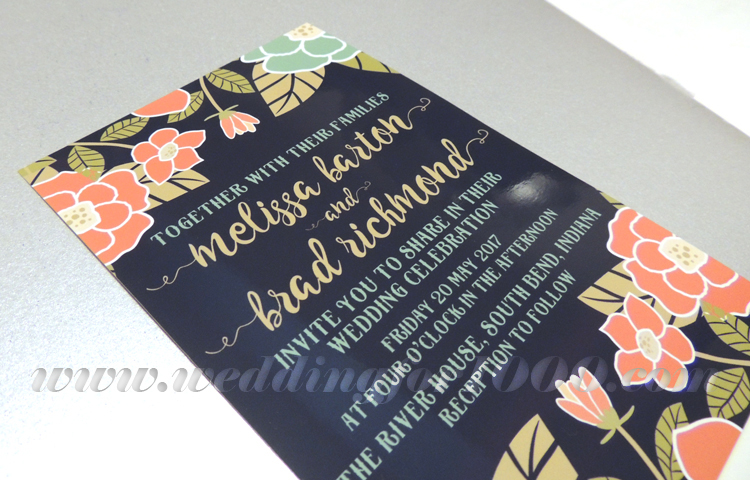
Crisp lines, saturated color, clear edges. LOVE IT.
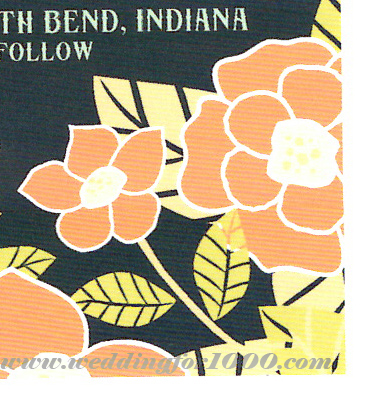
When comparing the last two results (the bordered, printed-directly-from-the-Illustrator-artboard version and the unbordered, exported-to-jpg-then-printed version), I noticed some other significant differences, especially after scanning them both.
Here is the first:
I know the scanner washed out the colors, but I did a little white balancing and still noticed that there was a lack of distinction, both to the edges of the flowers and leaves and the actual saturation of color in the petals. It’s noticeable in person, but I’m not sure how to get a really clear, up close picture of the differences.
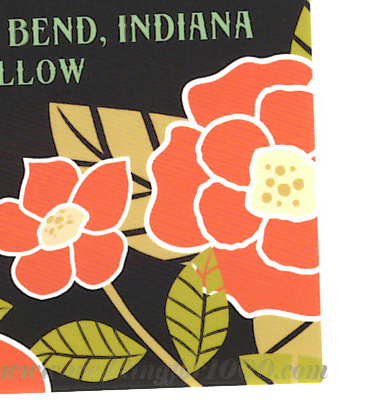
Here’s a scan of the photo print version:
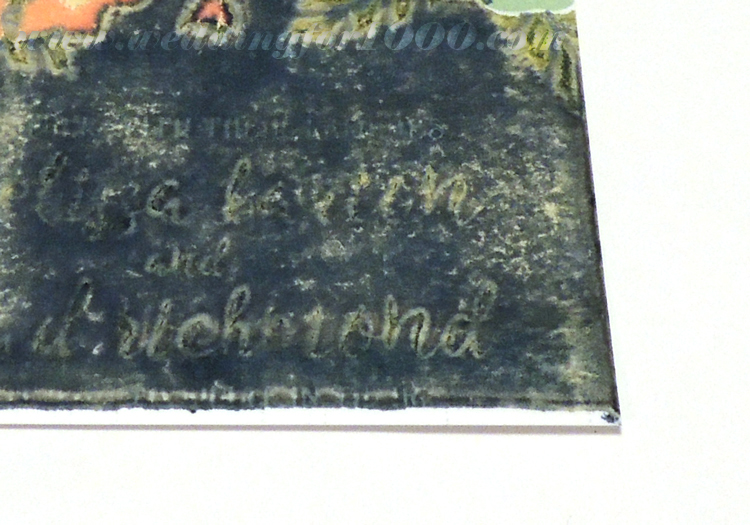
You can see there is a significant difference in the color saturation and clearness of the object lines. Here are a couple of close-ups (or as close as a closeup gets when you’re using crop in place of zoom!):
the Illustrator printed/scanned version
the jpg printed/scanned version
Overall, I found that making my own DIY invitations was successful. I should have paid better attention to the directions before assuming I knew what I was doing. I would have saved myself some photo papers! I would like to do more research and find out what kind of file is most used by designers who print their work – maybe the jpg wasn’t the best option! I will have to check on that and add to this article later.
The Epson Expression Premium XP-830 can be found at Amazon for under $160 from various sellers, including a refurbished version that is under $120 (at the time this article was published). The ink refills are surprisingly inexpensive – I was expecting at least $50 for the whole set, but it’s available for around $35 on Amazon.
Photo paper for this printer is also affordable – I will do a post later about the cost breakdown for DIY invitations. For now, here are a few links for different sizes of photo and regular paper:
Epson Premium Glossy Photo Paper 8.5″ x 11″ – 50 sheets $9.49
Epson Premium Glossy Photo Paper 5″ x 7″ – 20 sheets $3.99
Epson Ultra Premium Glossy Photo Paper 4″ x 6″ – 100 sheets $13.49
Epson Bright White Paper 8.5″ x 11″ – 500 Sheets $11.40
Epson Presentation Paper Matte, 8.5″ x 11″ – 100 Sheets $7.49
Epson Premium Presentation Paper MATTE 8.5″ x 11″ – 50 Sheets $7.15
(all of these prices are current as of the time this article was published)
I’m definitely looking forward to working on other DIY wedding printing projects, so be sure to subscribe for more! Meanwhile, check out some of our other cool DIY projects!
Leave a Reply