
Have you ever looked at what it costs to set the mood with lights during a wedding reception? You can save a bundle by doing your own DIY uplighting!
The Low Down On DIY Uplighting Rental
Doing your own lighting is a great way to save money, especially if you have a photographer that doesn’t have a lot of lighting and/or you want to add some beautiful effects to your reception even though you’re on a budget.
- As with all things DIY, you need to give yourself a good time frame on reserving lights because most companies will have limited availability. The professionals at DIY Uplighting recommend you reserve as far in advance as possible since the deposit is only $25.
- About 12 days before they ship your lights, the balance on your lighting order is charged to the card on which you put the deposit. These guys ship your lights to arrive 2-3 days before your event. All you do for the big day is plug the lights in, set the color and roll on to decorate the rest of your reception. It doesn’t get any easier!
- DIY Uplighting even send you a handy prepaid shipping label. Simply return the lights on the Monday after your event, and that’s it.
Get Down Low With Color
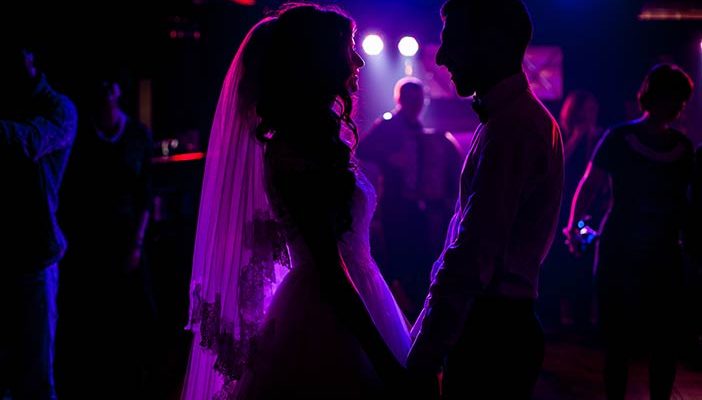
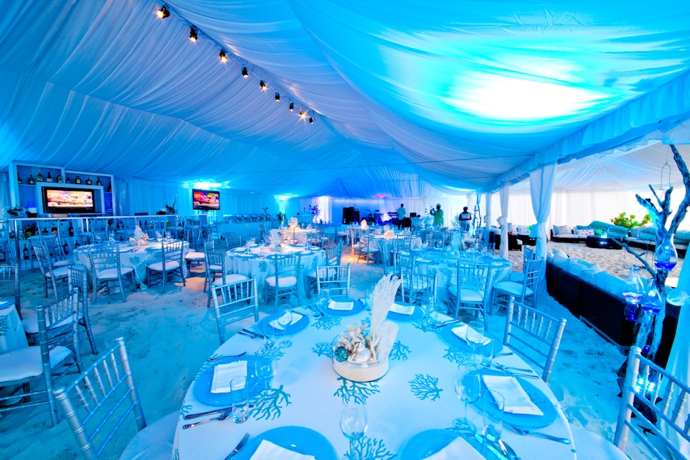
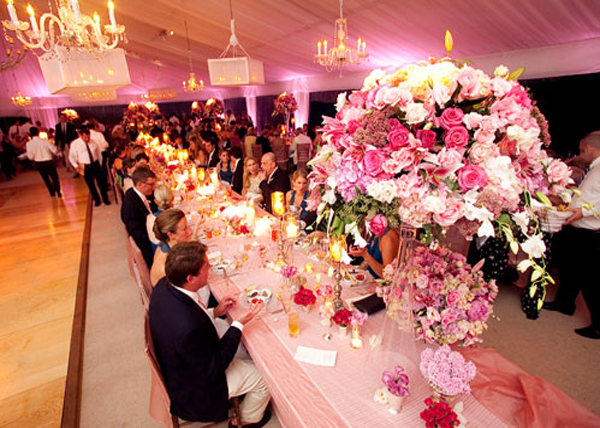
You can really set the mood effectively with turning off harsh (and unflattering) overhead lighting and replacing it with these uplights. For the reception, you can choose to color it happy with some bright options:
You’ll need a little over 20 lights for this option, depending on the size of the room. Of course, a pastel pink creates a soft and flattering glow:
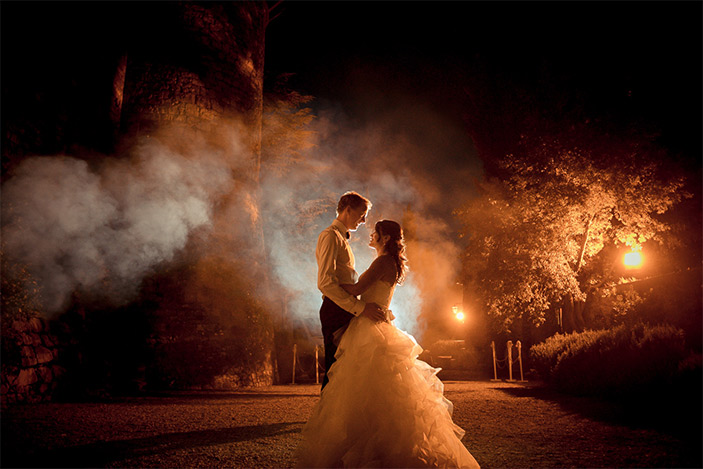
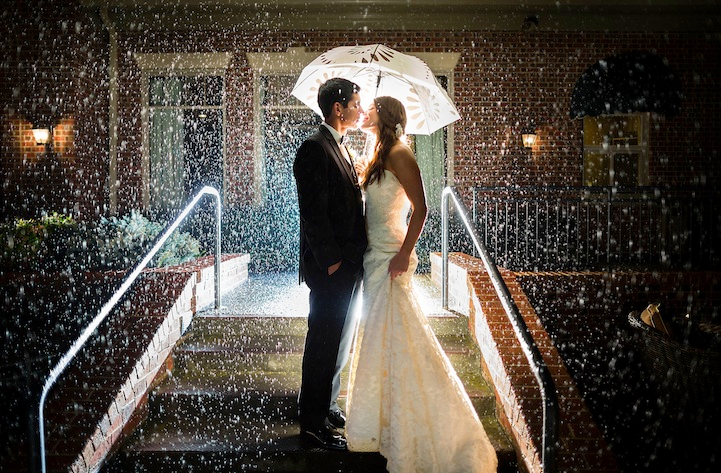
For this effect, about ten uplights should get you there. When it comes to backlighting some epic photography, use the yellow for a romantic glow and recreate scenes like this:
You can get away with something simple like just two to three lights here. Uplight a stunning photo op with one bright white bulb for a big pop of light!
Choose from these color options:
- Red
- Green
- Blue
- Cyan (this is like a light blue/teal)
- Magenta (this color can sometimes appear purple and sometimes more pink depending on the ambient light in your room)
- Yellow
- White
How To Maximize Your Lighting
The most important part when going for DIY uplighting is to look at photography and receptions that you admire. Then talk to a professional at DIY Upligting to figure out how many lights you will need to achieve the look. DIY Uplighting provides some sweet videos and lighting tutorials to help you get started so you won’t be left in the dark, pardon the pun. This process is meant to be simple and easy–so you can focus on the party and not what’s going on in the background.
Leave a Reply